

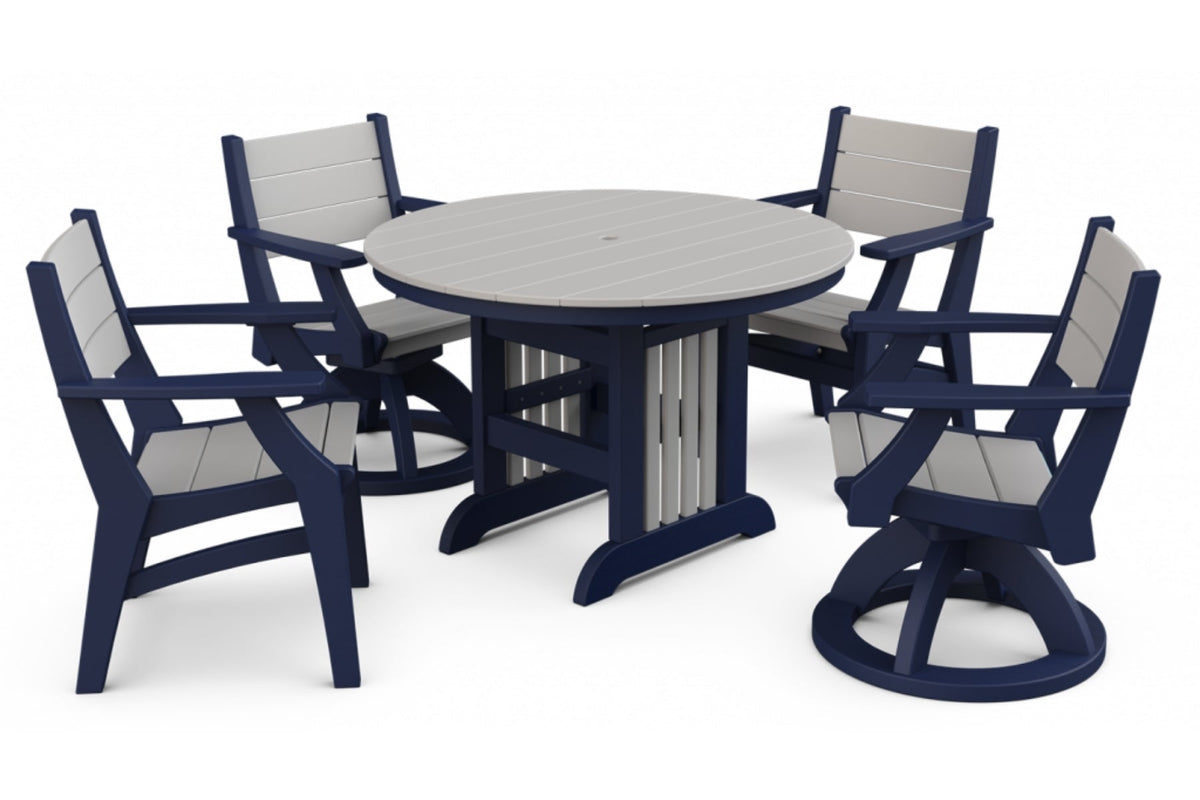
Quick answer: Start with the tabletop's length and width, or its diameter if it is round. Add 36 inches on every side where a chair needs room to pull out. If someone must walk behind an occupied chair, use 44 to 48 inches on that side instead. Those numbers are planning starting points, not a substitute for checking the actual chairs, door swings, steps, grill clearance, and traffic pattern on your patio.[2][3][4]
The table is only the center of the footprint. A set that looks comfortable with every chair tucked in can become awkward as soon as four people sit down.
Measure the usable dining zone first
Do not begin with the patio's total square footage. Measure the uninterrupted area where dining can actually happen.
Mark anything that reduces that area:
- the active panel of a sliding door or the swing of a hinged door
- deck railings, posts, steps, and changes in floor level
- the route between the house, table, grill, pool, or yard
- planters, storage boxes, umbrella bases, and other furniture
- the operating clearance required by a grill or outdoor appliance
Measure wall to railing or patio edge, then subtract the space that must remain open. The rectangle left over is your usable dining zone. A chair leg should not have to leave the deck or land on a step for the set to work.
Use a side-by-side clearance formula
The simplest calculation is:
Dining footprint = table dimension + clearance on side A + clearance on side B
Run it once for the table's length and once for its width. For a round table, use the diameter in both directions.
| What happens on that side? | Planning allowance from the table edge | What to verify on site |
|---|---|---|
| A chair only needs to pull out for sitting and standing | Start around 36 inches | Actual chair depth, arms, and how far guests pull back |
| People need to pass behind a seated guest | Plan about 44 to 48 inches | Serving traffic, the route to the house, and the widest chair |
| A door, step, grill, or other operating zone is nearby | Measure that zone separately | Keep the dining footprint out of the operating area |
The allowances do not need to match. A railing side may only need chair room, while the house side may need a wider path. That asymmetric calculation is usually more honest than adding the same number to every edge.
Two examples using Beaver Dam Shop table sizes
A 44-inch round table
The Round Mission Dining Set lists a 44-by-44-inch table at dining, counter, and bar heights.[9] With a 36-inch chair zone on every side, the first-pass footprint is:
44 + 36 + 36 = 116 inches, or 9 feet 8 inches, in both directions.
That does not mean every 9-foot-8-inch square patio will feel generous. The calculation assumes that 36 inches is enough for the exact chairs and that nobody needs to use that same space as a busy walkway. Tape the chairs in their occupied positions before deciding.
A 60-inch round table
The Serenity 60-inch Round Table has a 60-by-60-inch tabletop footprint at each of its three listed heights.[8] With 36 inches on all sides:
60 + 36 + 36 = 132 inches, or 11 feet, in both directions.
If the house side also carries foot traffic, use 48 inches there and 36 inches on the opposite side:
60 + 48 + 36 = 144 inches, or 12 feet, along that axis. The other axis can remain 11 feet if it only needs the basic chair zone.
This is why seat count alone is a poor sizing tool. Two tables marketed for similar gatherings may create different patio footprints once you add the chairs and routes around them.
Tape the layout in three passes
1. Mark the tabletop
Use painter's tape or chalk to mark the table's exact outside dimensions. For a round table, mark the diameter in two directions and sketch the curve if that helps you see the corners you are gaining.
2. Mark occupied chairs
Place an existing chair at the tape line or mark the published depth of the chair you plan to buy. Pull it back to a realistic seated position. Repeat at every seat, including the ends of a rectangular table.
Armchairs may not tuck as far under the top as side chairs. Counter- and bar-height chairs can also have different bases and depths. Use the dimensions of the chair paired with the exact table height, not a generic dining-chair estimate.
3. Walk the real routes
Open the patio door. Walk from the kitchen to every seat. Carry an empty serving tray around the table. If the route crosses a chair outline, widen that side or choose a smaller setup.
Test the arrangement with the chairs pulled out, not lined up neatly under the tabletop. The occupied layout is the one that matters.
Round and rectangular tables use space differently
A round table removes corners and can make turning easier in a square dining zone. It still needs chair room around its full circumference, so it is not automatically the smaller option.
A rectangular table often makes better use of a long patio. You can place the long dimension parallel to the long edge, but remember the chairs at both ends. Table legs, stretchers, and pedestal bases also affect where chairs can sit even when the top is long enough.
Choose shape after you measure the usable zone. Do not choose it from seat count or a staged photo alone.
A measuring worksheet you can use before shopping
| Measurement | Your number |
|---|---|
| Usable dining-zone length after doors and fixed obstacles | _____ inches |
| Usable dining-zone width after doors and fixed obstacles | _____ inches |
| Table length or diameter | _____ inches |
| Table width or diameter | _____ inches |
| Clearance needed on each side | Side A _____ / B _____ / C _____ / D _____ |
| Calculated occupied footprint | _____ by _____ inches |
| Largest chair width and depth | _____ by _____ inches |
| Door, grill, step, and umbrella-base conflicts | ____________________ |
Run one final fit test
- Every chair stays on a stable, level surface when occupied and pulled out.
- The main door opens and remains usable during a meal.
- A guest can reach each seat without asking someone else to stand.
- The normal serving route does not cut through chair space.
- The umbrella base, grill clearance, planters, and steps are outside the occupied footprint.
- The arrangement still works with the number of chairs you will use most often.
If the taped layout fails one of those checks, change the table size, table shape, chair style, or orientation before you order. Losing one seat is usually less frustrating than squeezing around an oversized set for years.
Once you know the footprint that fits, compare the exact dimensions in Beaver Dam Shop's outdoor table collection and outdoor dining sets. If you are also deciding what the furniture should be made from, the HDPE outdoor furniture guide explains the material and the product details worth checking.


